 Great Ketch is a free standing mast cat ketch. The masts are carbon fiber and fiber glass.
The booms are fiber glass and contain inner blocks in areas where strength is needed, such as at the end of the boom where the lines connect to the boom.
The booms are half wishbone design and easy to manage. Interestingly, I have been asked by others why my booms are broken --most likely bent from stresses placed upon the sails-- I typically use their inquiry to explain that the bent (curve) shape is part of the design of the boom.

Overtime, the booms had shown scratches, dents, worn areas, and cracks. The booms are removed from the mast and installed on the mast once a year as part of the end of the season and start of the season practice.
It was time to sand the old paint, body work, and then paint the booms. The picture toward the right displays the curve shape in the boom, and the result of sanding, body work, and painting.
I started the work on the mizzen boom first because it was the shorter of the two booms -- the main boom is approximately 15' in length. The mizzen boom had to be sanded first, then body work applied, followed by more sanding, and sandin and check and check again. -- repeat process.

 The picture on the right is mizzen boom after body work. Lots of areas were touched up on the boom. Notice how there is a third rope helping to hold the boom at the same angle as if it was on the boat?
There was a stress crack on the end of the mizzen boom that needed attention.

 The stress crack was removed after much grinding and rebuild with glass and epoxy, followed by filler, primer and topcoat paint.
I used PreKote and Brightside paint with a flattening agent of 2:1. Having very shiny objects up on the deck spar does put a bit a strain on the eyes.
 The mizzen boom is shown hanging from rope after it had been sprayed with Brightside paint. One is mindful of the weather; I chose days when the humidity was low and the temperature was about 74 degrees.
 Sanding the boom between first coat of primer and second coat was 120; between primer and first coat of topcoat was 220; between first coat of topcoat and second coat was 400.
 The main boom is display toward the left. One can note the dents,
scratches, and worn areas. It took about and hour to remove the
hardware.
The main boom is display toward the left. One can note the dents,
scratches, and worn areas. It took about and hour to remove the
hardware.
The main boom took a little bit longer to do but I also was working on improving my skills for body work. The topcoat paint did leave some orange peel look but the 400 sandpaper was the tool to remove the peel.
The removal of the hardware took an hour and the installation of the hardward took the same amount of time. The hardware that held the lazy jack lines to the boom were replaced. They were nickel plated bronze, and the bronze looked ugly, and difficult to keep clean.
I polished the goose-neck hardware, and ensured that all screw holes into the boom had a dab of white silicon.
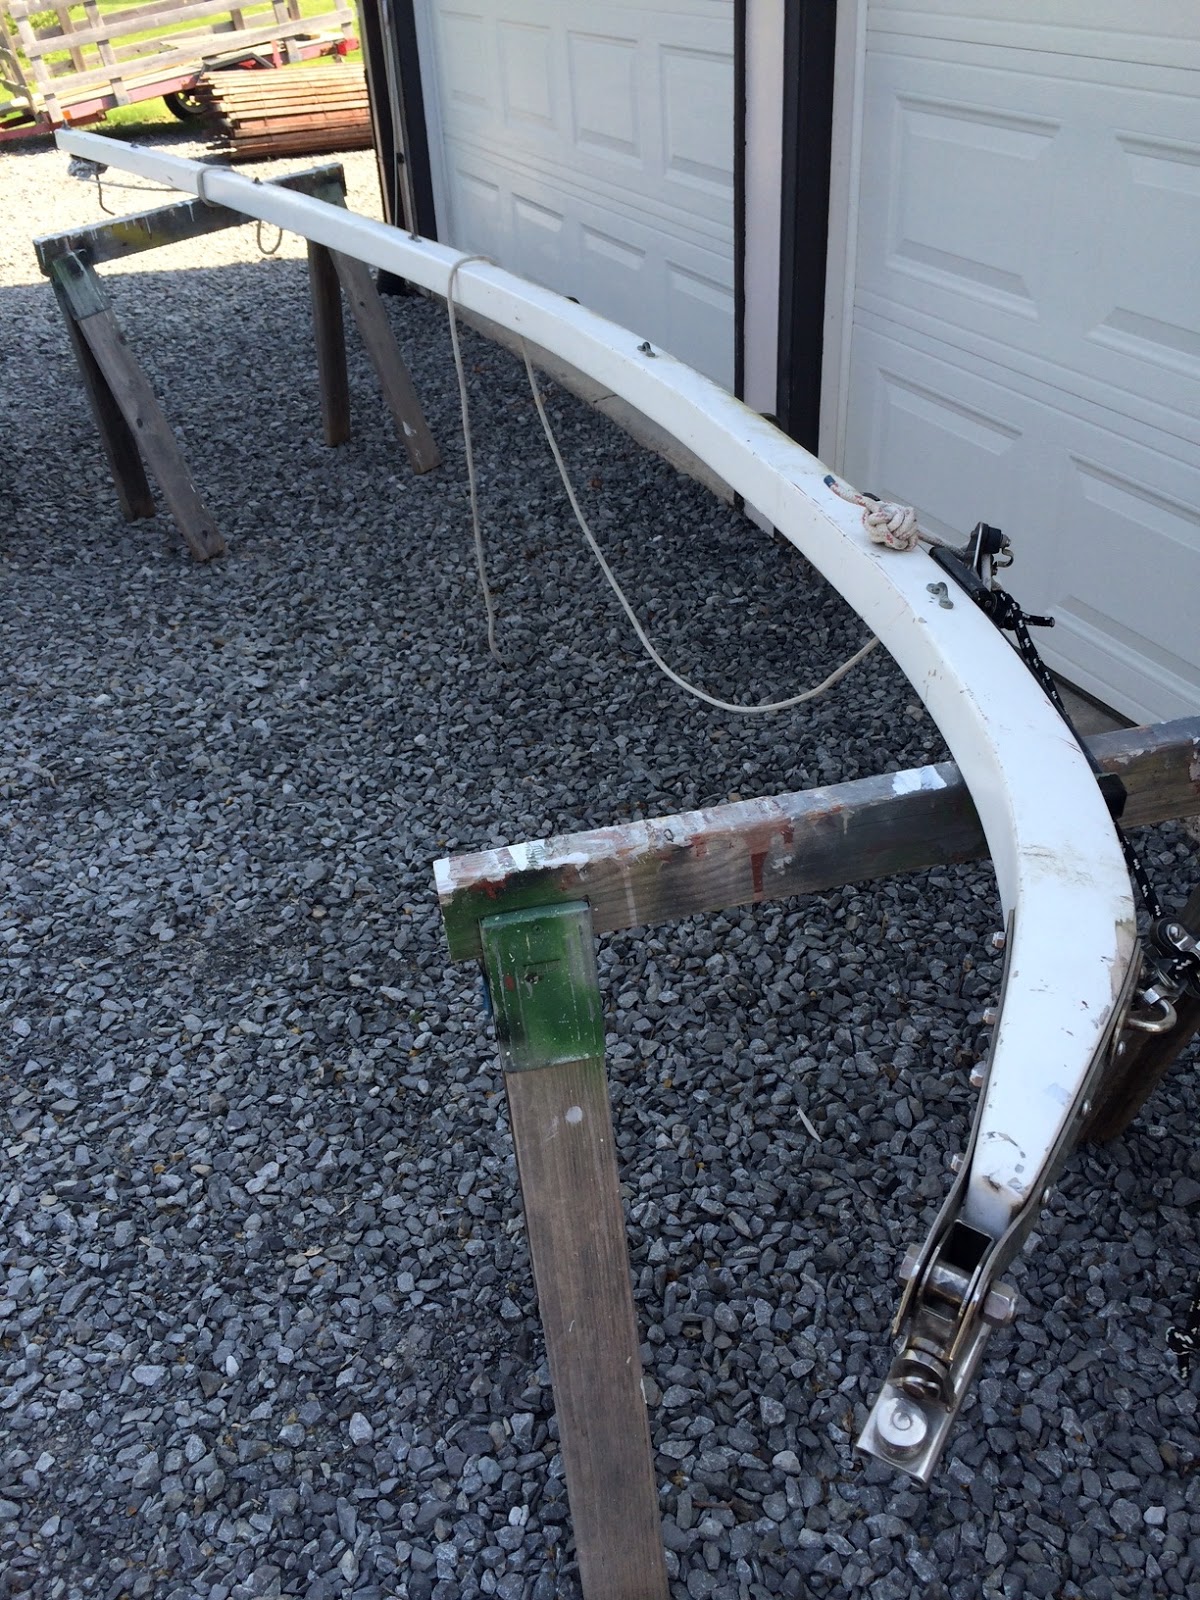
 The main boom in the picture on the right after the topcoat has been applied. In the back ground one can note the water separator -- partly visible hanging on the wall -- and the water dryer on the hand cart. Above near the top of the roof of my garage is an exhaust fan. The air compressor, the separators, the exhaust fan and spray gun worked very well.
The legs of my spot light is also shown in the picture. When spraying white on white (paint on primer) it is very important to have good lighting. One needs to be able to see areas sprayed (too thin or too thick).
I was pleased with the results, I only had one area that developed a run at the end of the boom. This was remedied after the paint cured a bit, then sanding, and then spray again on second coat.
The results of the approximate 25 hours of work is shown in the first picture above of this blog.